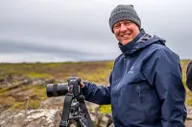


Because of rangefinder limitations, the longest Leica M lens coupled to the rangefinder has been the 135mm lens. In its current rendition, this is the Leica M APO-Telyt-M f/3.4 135mm lens! That is a mouthful, although the APO is the key measure in my book. The APO-chromatic behavior of a lens allows the different primary colors (red, green, and blue) to focus at almost the same point on the image plane. This limits the contrast loss and most color fringing of any consequence in an image, regardless of the light quality.
Why does that matter in this case, and how can I possibly extend the 135mm focal length? Two very good questions and the solution presents itself with the Leica EV1.
Anytime we talk about increasing the magnification of an image, the quality of the lens determines the quality of the magnified image. So, using the APO 135mm lens provides a high quality image to begin wth and magnifying it more still results in a high quality image!
The answer is relatively simple to the question of how to extend the focal length using the EV1. I am going to ask you to bear with me as I show you how the results remain relevant in photography.
The Lecia M11 sensor generation proviedes a high level of dynamic range, meaning light is captured with more nuance than older generation sensors. This image quaility is important for our resulting image, expecially when printing the image on paper. Clearly producing a 2,800 pixel image on the long-side to post on Instagram is easily done by early Leica digital cameras. Printing, on the other hand, requires a few more pixels.
Zooming in the Arctic Circle
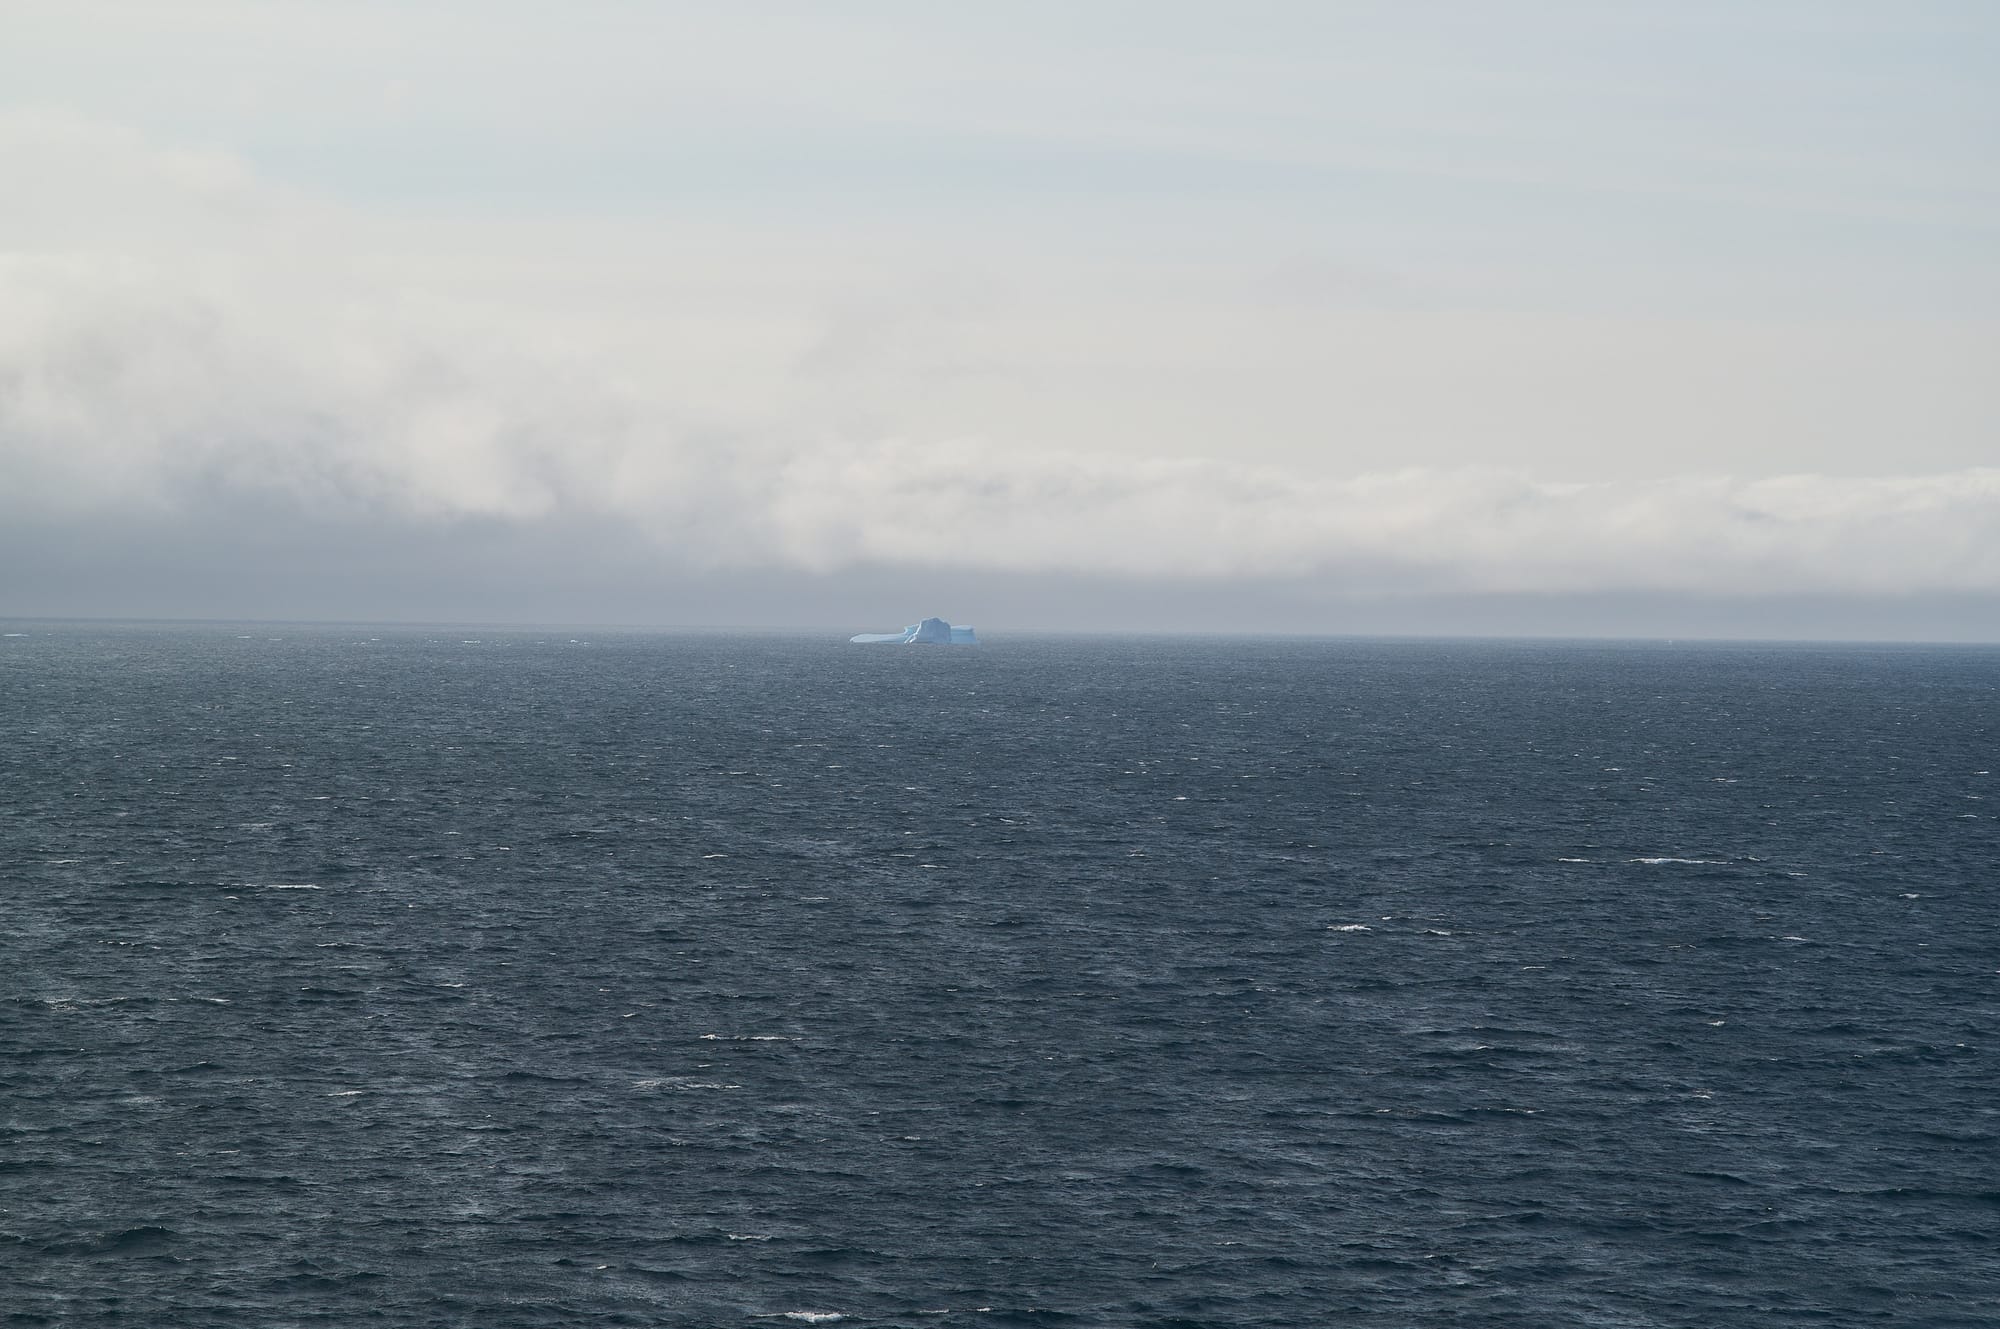
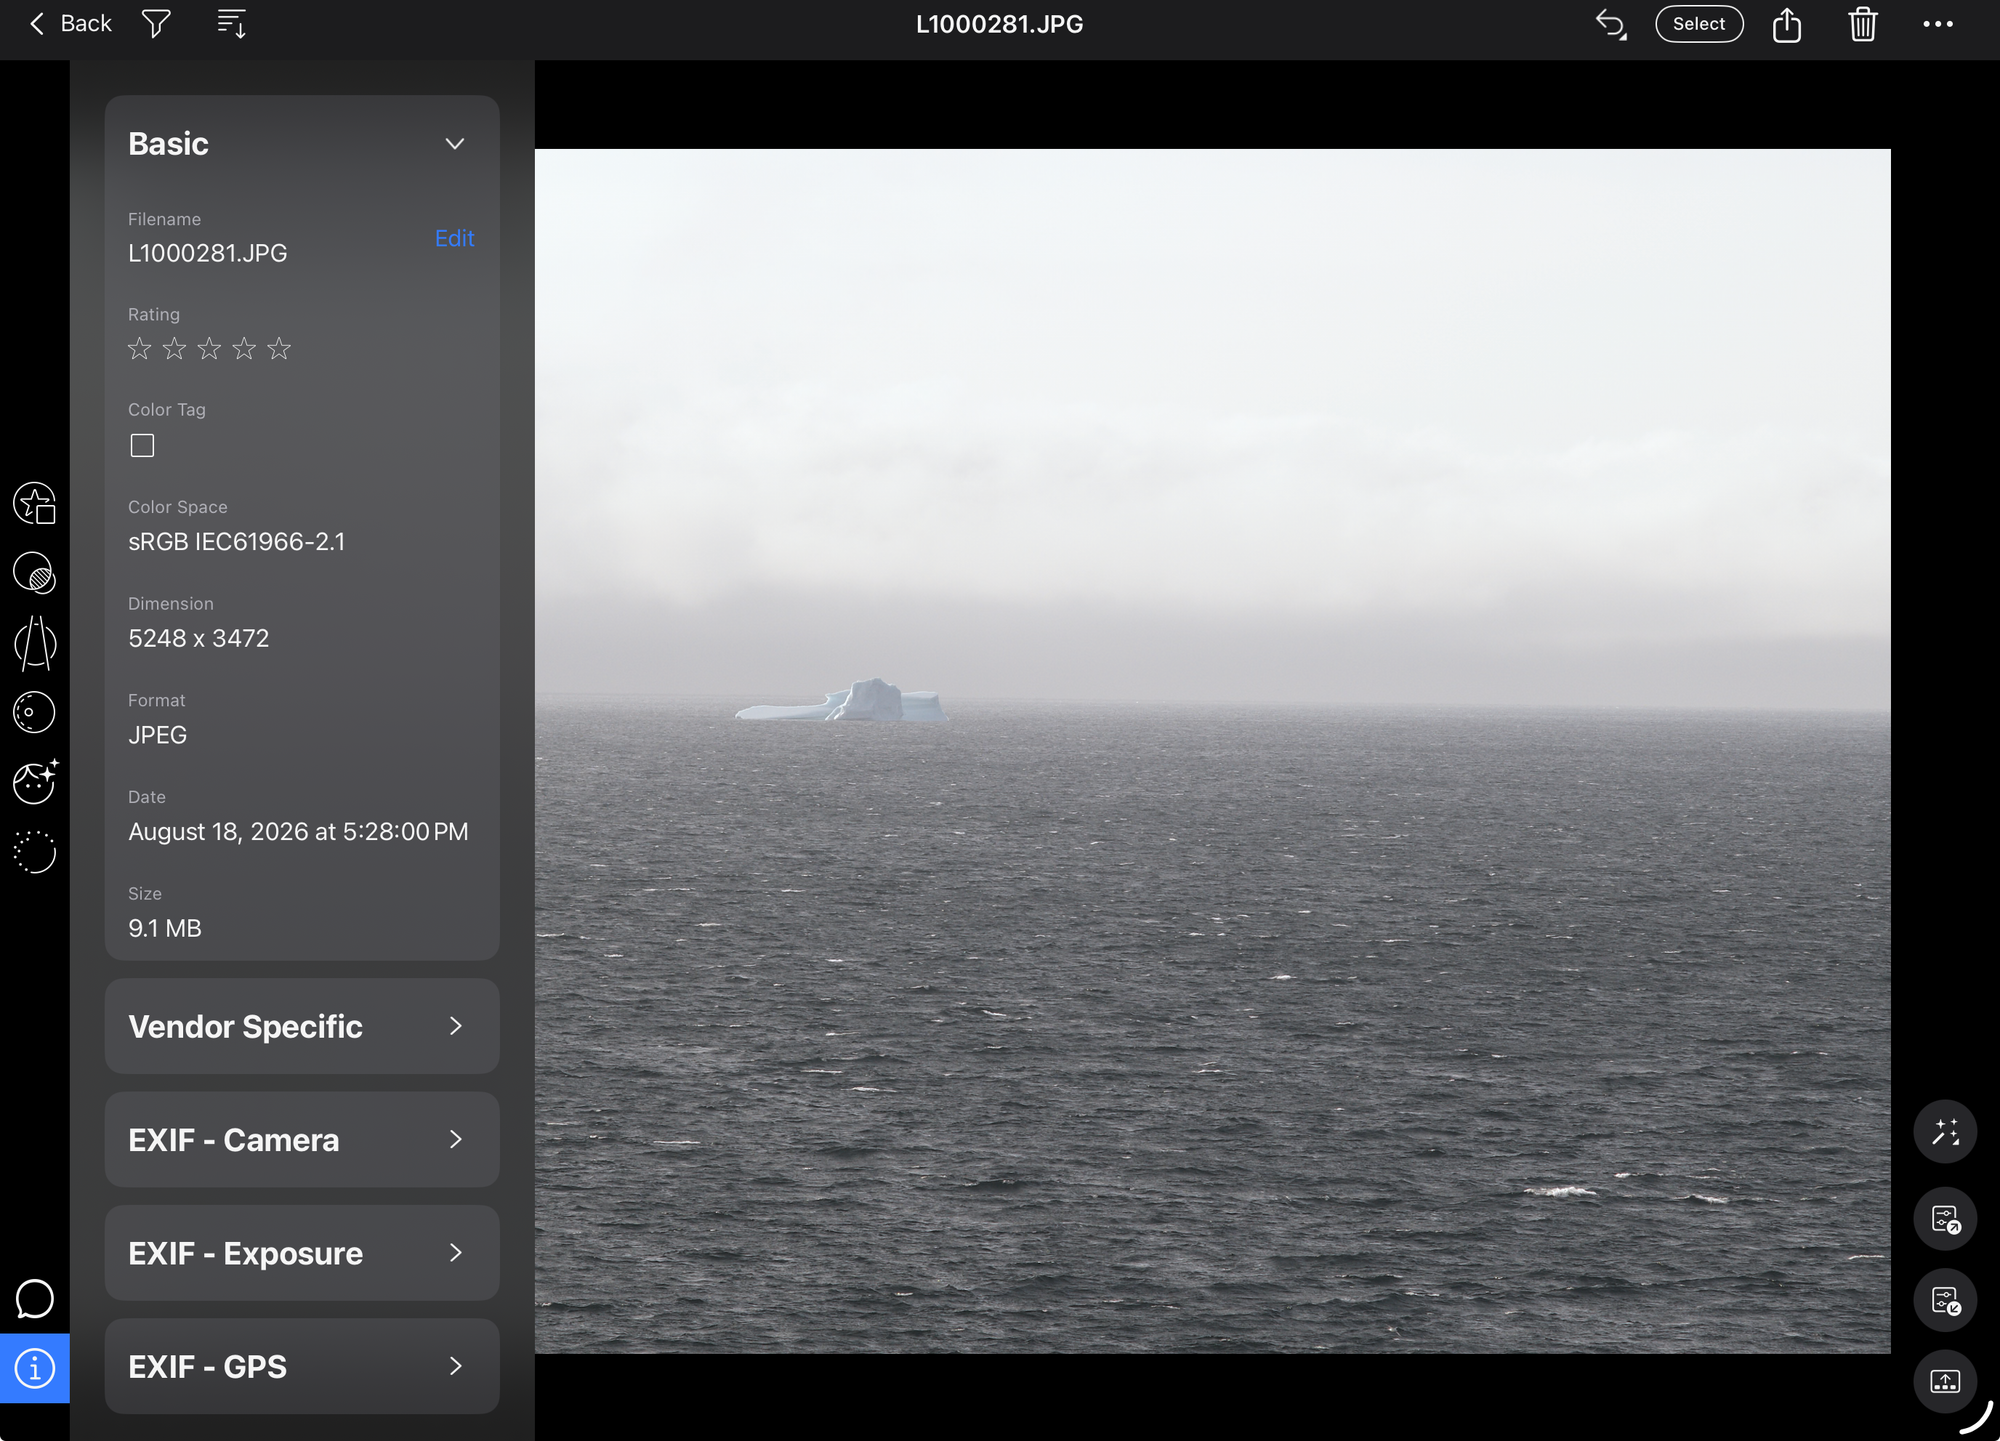
While I was traveling above the Arctic Circle in August 2026, we came across a lone iceberg. It remained fairly far away even at our closest approach. Yet, I’ve never met an outdoor photographer that would pass up a perfectly good iceberg without taking an image, regardless of how far away it is. That includes me!
Of course, the first thing I did was mount the APO 135mm lens on the EV1 and begin setting an exposure to capture this iceberg. Yet, as you can see, the Iceberg is rather far away.
The first thing I did was use the lever on the front of the camera to zoom in to 1.8x. All that does is change the cropping of the resulting JPEG image made in-camera. The RAW or DNG file does not change and has the full data from the sensor and can be edited in any fashion. However, after taking the photograph, the preview in the rangefinder and the resulting JPEG are zoomed in 1.8 times.
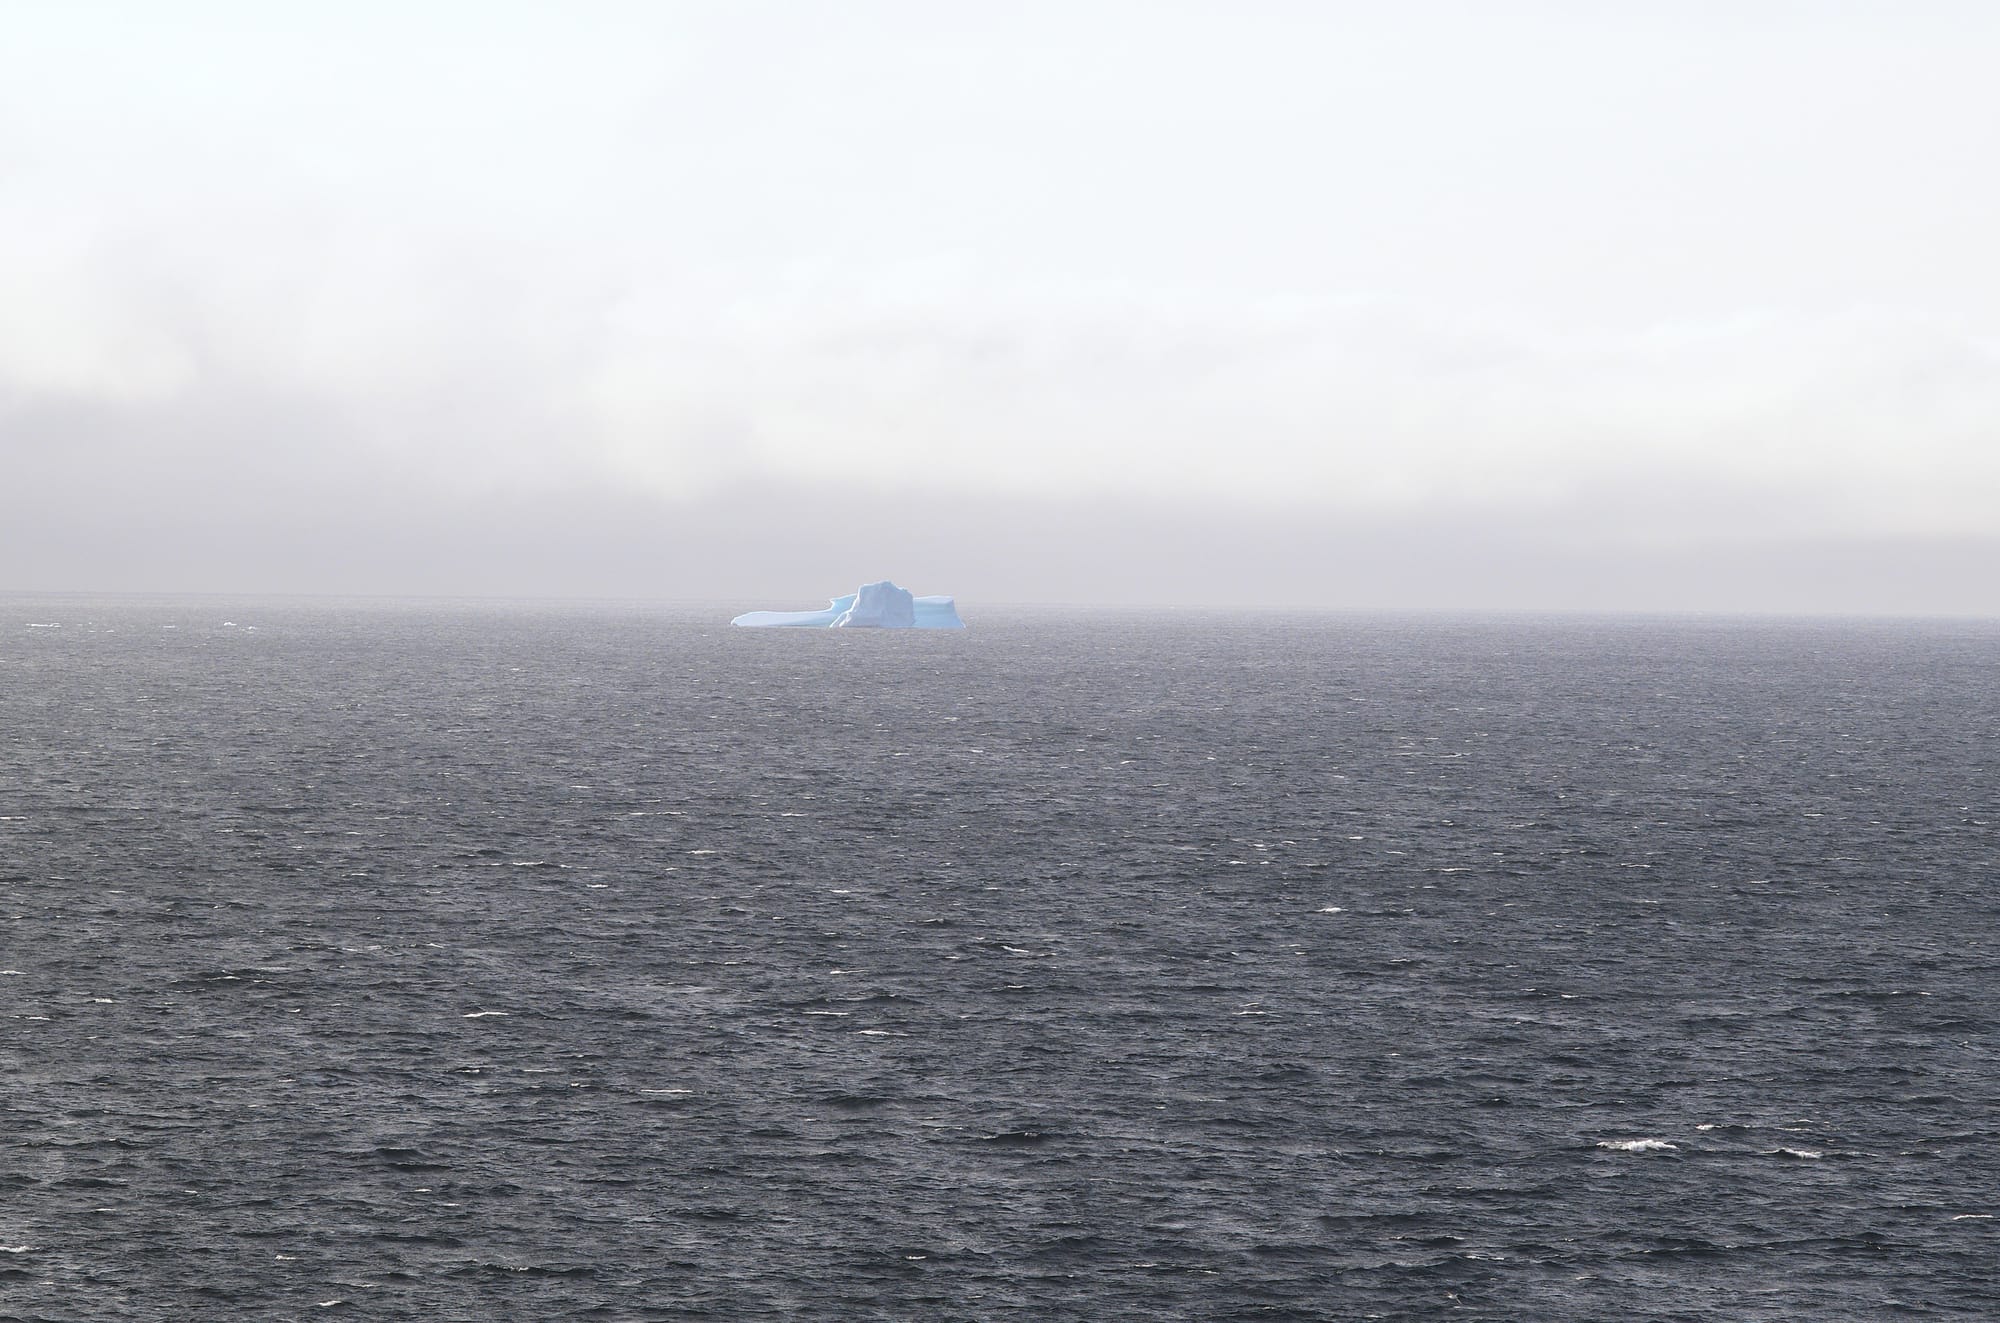
My first reaction was that this was all well and good, but what use is this image? I’m giving up a whole bunch of resolution and what am I left with?
As it turns out, this larger 64 megapixel sensor is capable of using a 1.8 crop factor and still produces a 5,248 pixel by 3,472 pixel image. Compared with the DNG image at 9,528 pixels by 6,328 pixels, the cropped JPEG seems unusable. However, that could not be further from the truth!
Printing and Pixels Per Inch - Will Zooming Work?
I love to print my own images up to 17 x 22 inches. I also love using the Archival Methods frame kits as they allow a print to last out in the open for a long time. My oldest print is a black and white inkjet print I made in 2008 and have had hanging under florescent lights and daylight. Nothing about it suggest any fading and almost 20 years have gone by since I put it in the Archival Methods mat board.
Getting back to this cropped JPEG, the frame sizes I use the most are either the 16 x 20 inch frame or the 20 x 24 inch frame. The mat openings for these frames are (in inches): 11 x 14, 11 x 17, 11.7 x 16.5, 13 x 19 and 16 x 20. I also think the best density to start printing is 300 pixels per inch, which is my default starting point.
To figure out the largest print size at 300 pixels per inch, we simply perform a little math. Taking the long side first, 5,248 pixels divided by 300 pixels per inch provides 18.1 inches. The short side produces 3,472 pixels divided by 300 pixels per inch or 11.57 inches. This means the 1.8x cropped JPEG will print at resolutions of 300 pixels per inch or more for the 11 x 14, 11 x 17 and just shy of the 11.7 x 16.5 mat opening.
Even more interesting, the larger print sizes are not dictated by the long side, but limited by the short sides. So, the 13 x 19 inch print will contain 3,472 pixels divided by 13 inches = 267 pixels per inch. In the same way, the 16 x 20 inch print will contain 3,472 divided by 16 inches = 217 pixels per inch. Both of these resolutions can produce adequate prints of this size. However, if your technique is not well developed enough to sharpen for this sized print, then the current versions of Adobe Lightroom, Adobe Photoshop and Capture One can upsize an image to get to 300 pixels per inch or higher. This makes printing the cropped JPEG fully reliable for all these frame sizes.
The following table shows the pixels per inch that result from various print sizes using the full 1.8x cropped JPEG. Using the 1.3x cropped JPEG will result in higher pixels per inch (and is easier to print even larger).
| Print Size (inches) | Pixels Per Inch |
|---|---|
| 11 x 14 | 315 ppi (limited by 11 inches) |
| 11 x 17 | 315 ppi (limited by 11 inches) |
| 11.7 x 16.5 | 297 ppi (limited by 11.7 inches) |
| 13 x 19 | 267 ppi |
| 16 x 20 | 217 ppi |
What is the Effective Focal Length and Depth of Field?
Fortunately, the math is much easier to arrive at the effective focal length of the 135mm lens when using the 1.8x crop mode. Simply multiplying the focal length by the crop factor provides the perceived focal length. Furthermore, the effective depth of field is also a simple multiplcation. The table below shows both effective focal length and depth of field (f/stop) for both the 1.3x and 1.8x crop factors from the EV1. Note that the f/stop does not change so the amount of light entering the lens is the same regardless of crop. Only the appearance of the depth of field mirrors a higher f/stop.
| Crop Factor | Effective Focal Length | Effective DOF (f/stop) |
|---|---|---|
| 1.3x | 175 mm | f/4.2 |
| 1.8x | 243 mm | f/6.1 |
Conclusion
My conclusion is really pretty simple. The default use of the front lever on the EV1 is to zoom in with a 1.3x crop factor and a 1.8x crop factor. With the dynamic range and density of the sensor in the EV1, using either crop is a fast way to have an image that is closer to what you want to achieve, without having to spend time editing to see the results.
Of course, you can still edit the RAW file to have a different crop and more flexibility. With a full sized RAW file and a JPEG of the zoomed size, I can recommend using the zooms with absolutely no down side!