After so many years of editing RAW images, I believe we can get stuck in some creative ruts and need to break away for a bit. I love using the built-in JPEG settings with my Leica M EV1 (and other Leica M’s) to renew some editing creativity. I’ll let you in on a little secret, if you don’t already know - the JPEG settings on the EV1 impact how you take photographs unlike any other digital Leica M! Read to the end to find out how.
Being a member of the Leica Society International has given me a chance to meet some really incredible photographers over the years. Todd Hido is one of my favorite photographers for a single creative reason. Todd uses the JPEG out of camera for much of his work. While he uses the Leica S medium format system, the concept of taking the image and using the JPEG is a creative choice that mimics film. Yet, the Leica S is a digital SLR system, so it uses an optical viewfinder, similar to the rangefinder Leica M’s.
JPEG Choices in the Current Firmware
The current firmware in the Leica M EV1 has choices for five different types of JPEG styles. Leica calls these “film” styles in the EV1 manual.
The five current styles area as follows:
- Standard (STD)
- Vivid (VIV)
- Natural (NAT)
- Monochrome (BW nat)
- Monochrome High Contrast (BW hc)
These can be used as Leica set them up, or customized further. The STD film styles is probably the closest to what a typical RAW or DNG file might show from the EV1. VIV, as you probably guessed, is more saturated and NAT is is a little muted from STD. Monochrome comes in that standard, well rounded style and a higher contrast style.
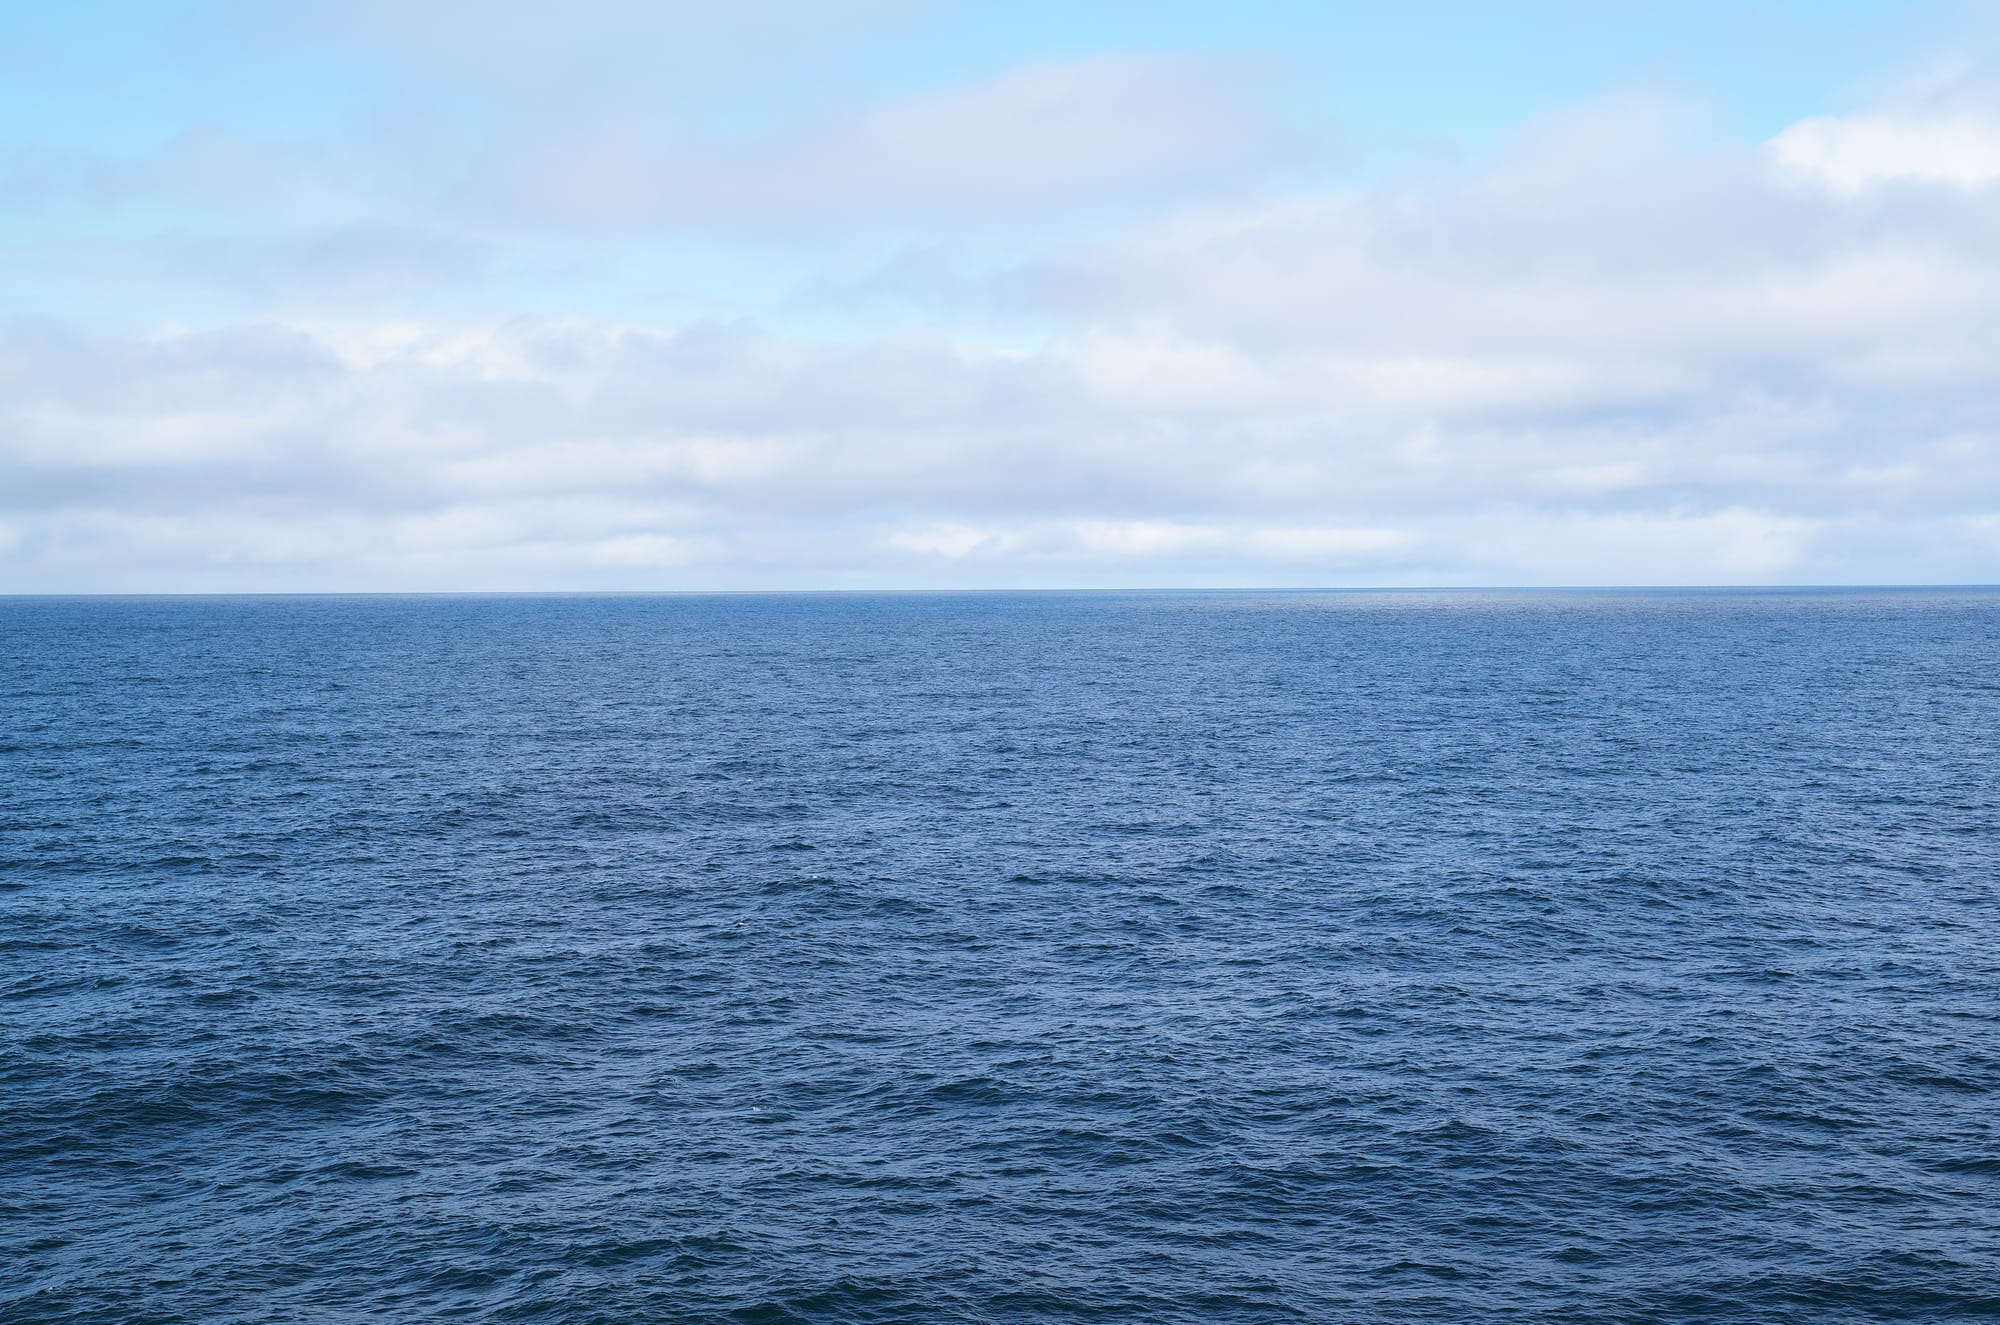
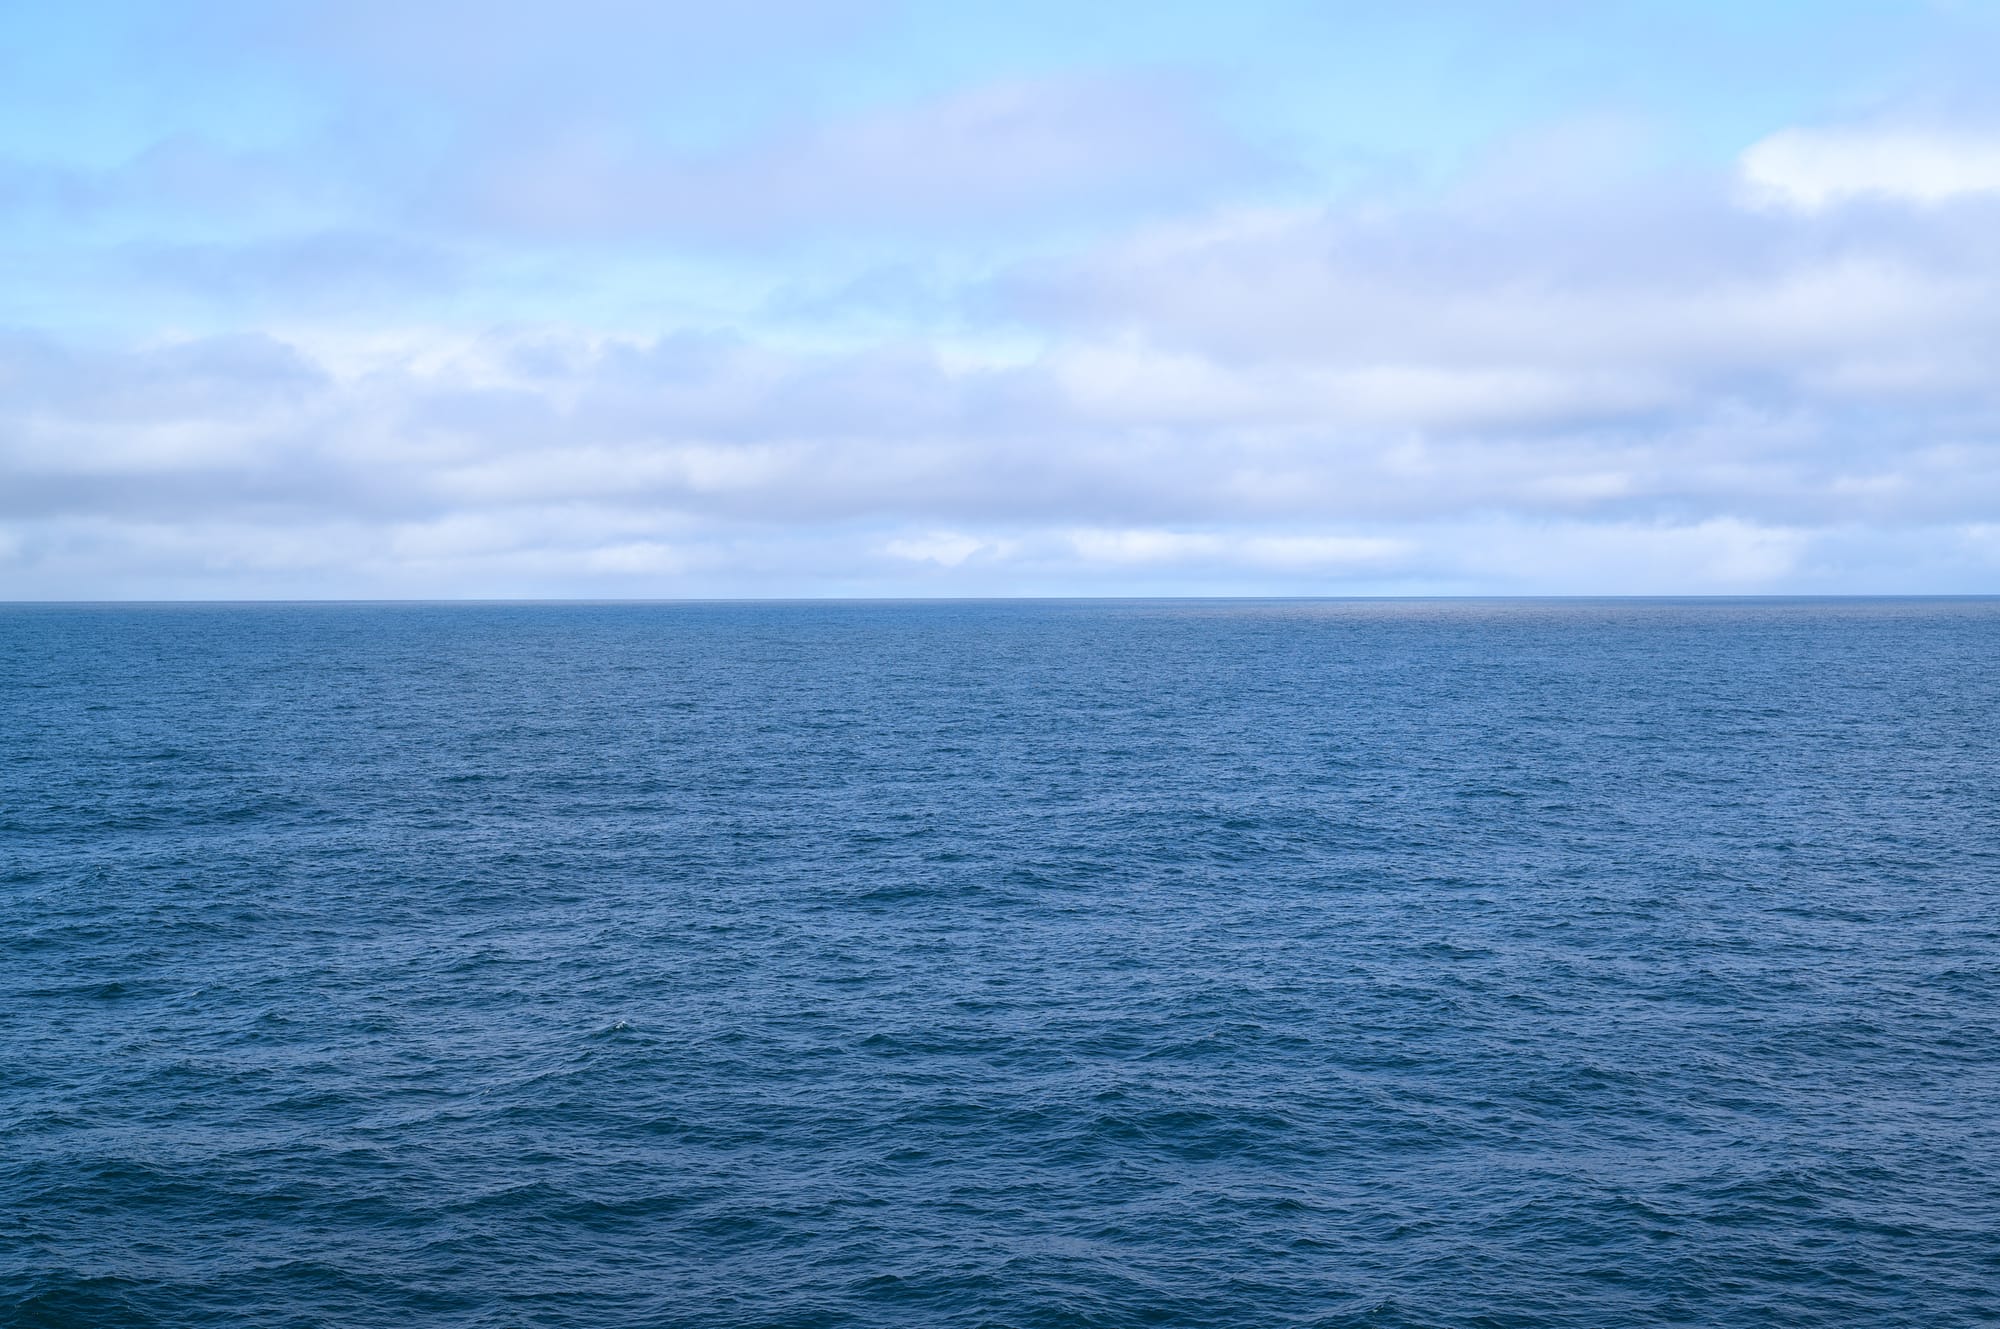
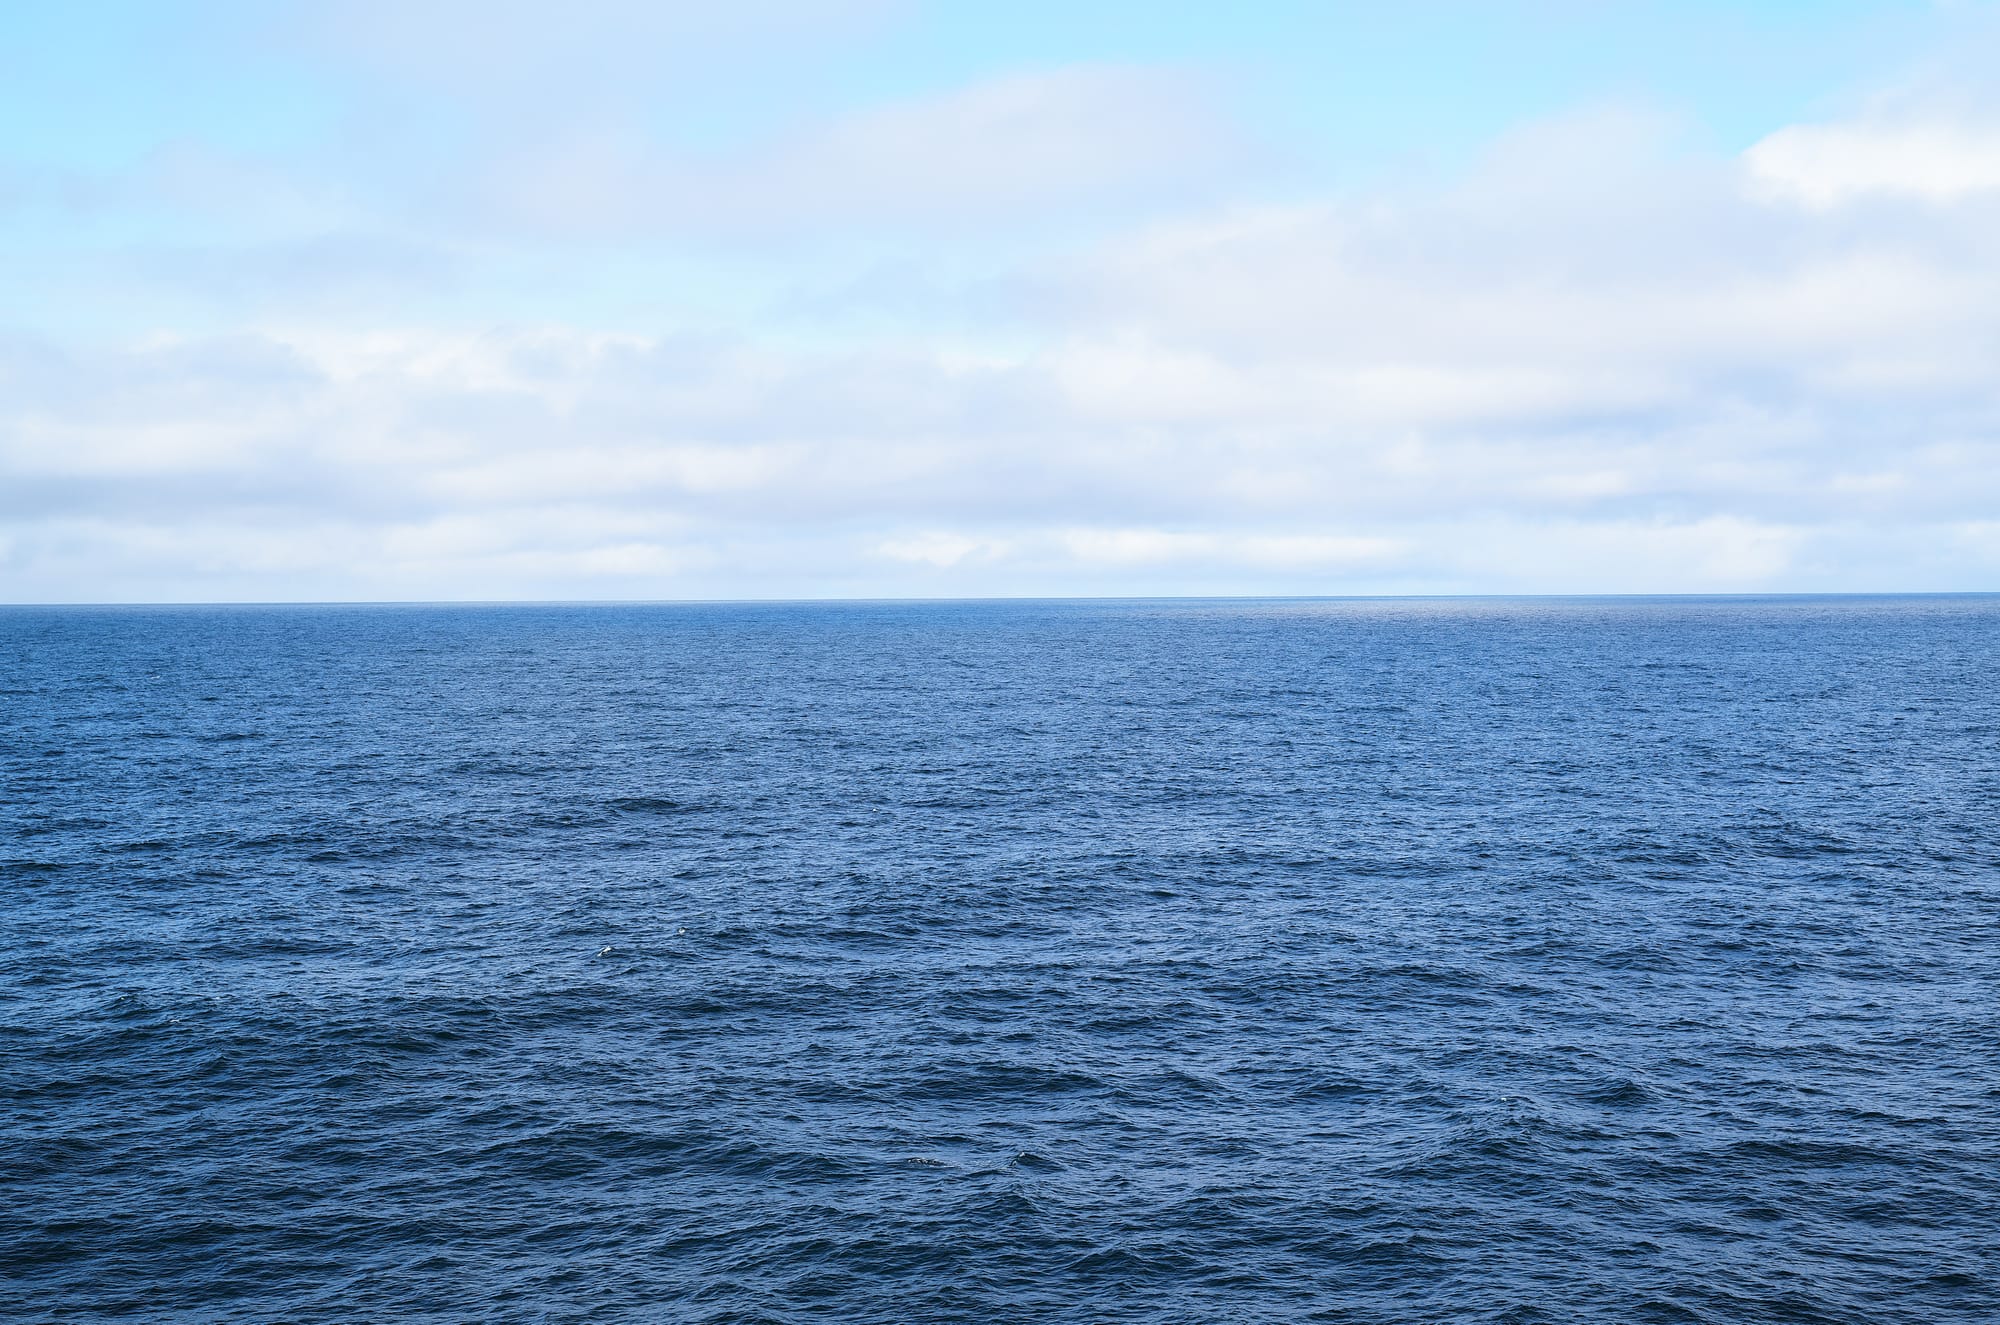
The Standard JPEG Film Style with +1 sharpness (left) and the unedited RAW image using Capture One Mobile for iPad (right).
The additional film styles settings can be adjusted from -2 to 0 to +2, adding additional creativity either related to the scene or to a body of work. These settings include: Contrast, Sharpening and Saturation.
My Settings for JPEG
First, I make sure the JPEG file is actually going to be created when I take a photograph. Selecting the Main Menu and going to the File Format item allows me to choose one of three options: 1) DNG Only, 2) DNG + JPEG, or 3) JPEG Only. These last two choices produce a JPEG from the camera’s Maestro chip inside the electronics of the camera. Personally, I never use item 3, JPEG Only, as I always want the RAW or DNG file so I can edit it completely.
Next, I have a few favorite additional file settings. These are located under the Main Menu then, JPEG Settings and finally Film Style. My favorite Film Style is NAT, as I like the somewhat muted look. But, I further adjust it using the sub-menu Film Style Settings as follows:
- Contrast = 0
- Sharpness = +1
- Saturation = -1
This gives the images an even more film-like look similar to Portra 160, in my opinion. Portra 160 is one of my favorite color films for that softer, painterly look.
In reality, I set Sharpness = +1 to all the Film Styles so that I don’t have to add any sharpening to the JPEG. I have not ever felt like it is over-sharpened with a +1 setting. I also will adjust the Saturation just a little in the + or - range depending on the Film Style. However, I never adjust the contrast setting!
Why would I be leary of changing the contrast in the JPEG Film Styles? After all, the DNG or RAW data is not changed at all. In the next part I describe the single most important aspect of the EV1 with regards to JPEG settings, different from all digital Leica M rangefinders.
Impact of the JPEG Film Styles to the Leica M EV1
The beauty of the Leica M EV1 is that the preview is exactly what the sensor produces when you press the shutter. The curse of the EV1 is the same.
If a JPEG Film Style is set, then the EVF on the EV1 will show that selected film style in the preview! So, choosing Monochrome (natural) will show a black and white monochrome image in the EVF. Yet, we all know that the RAW or DNG file will have all the color and light data that the sensor recorded.
If the JPEG Film Style Monochrome High Contrast is set, then the EVF will show a high contrast black and white image, even though the RAW or DNG gets all the sensor color data it produced.
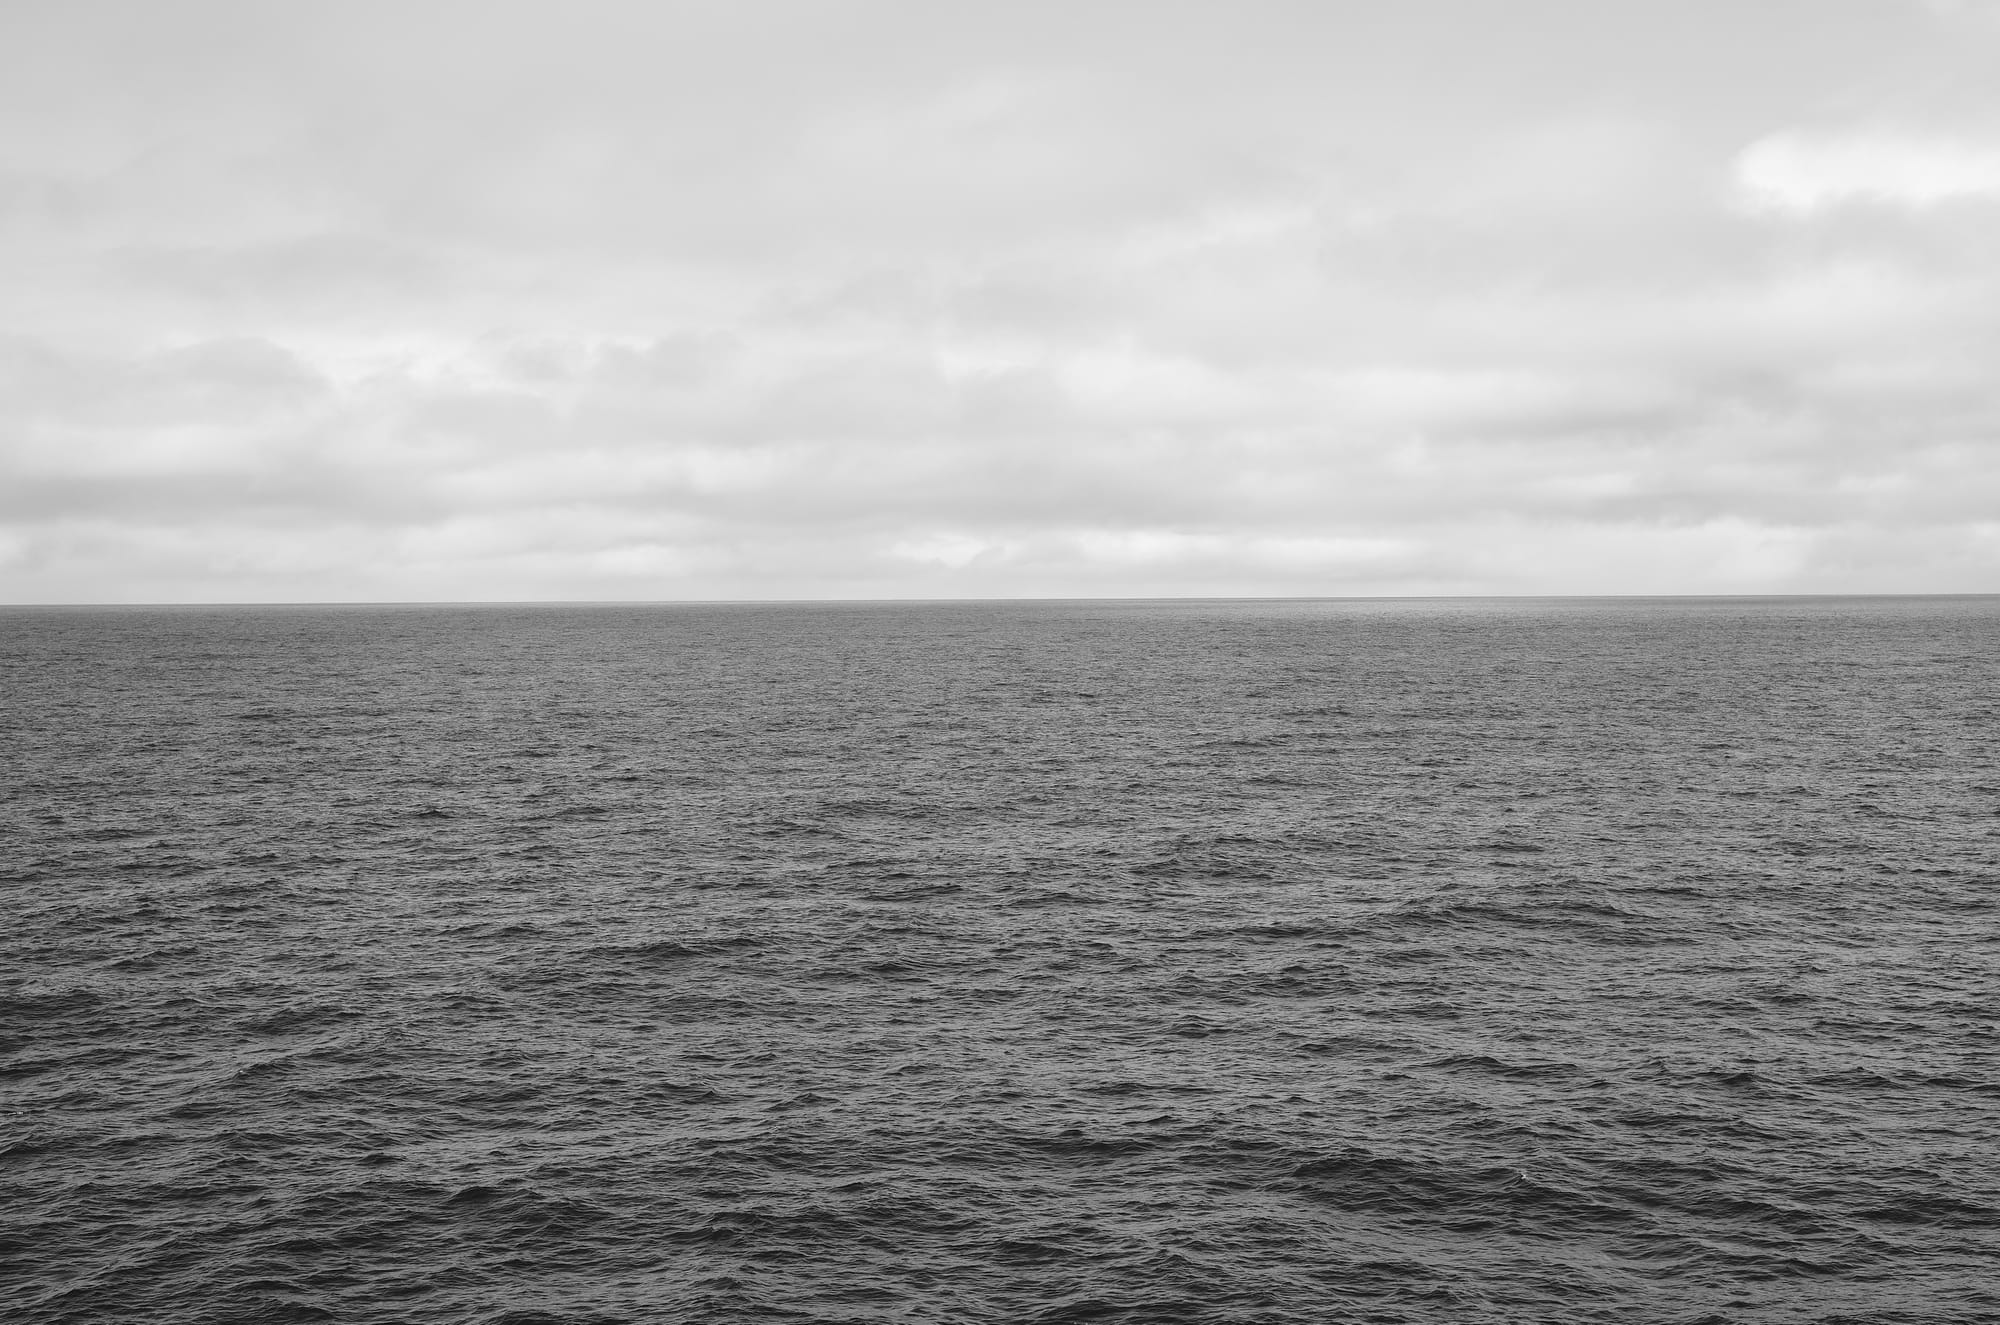
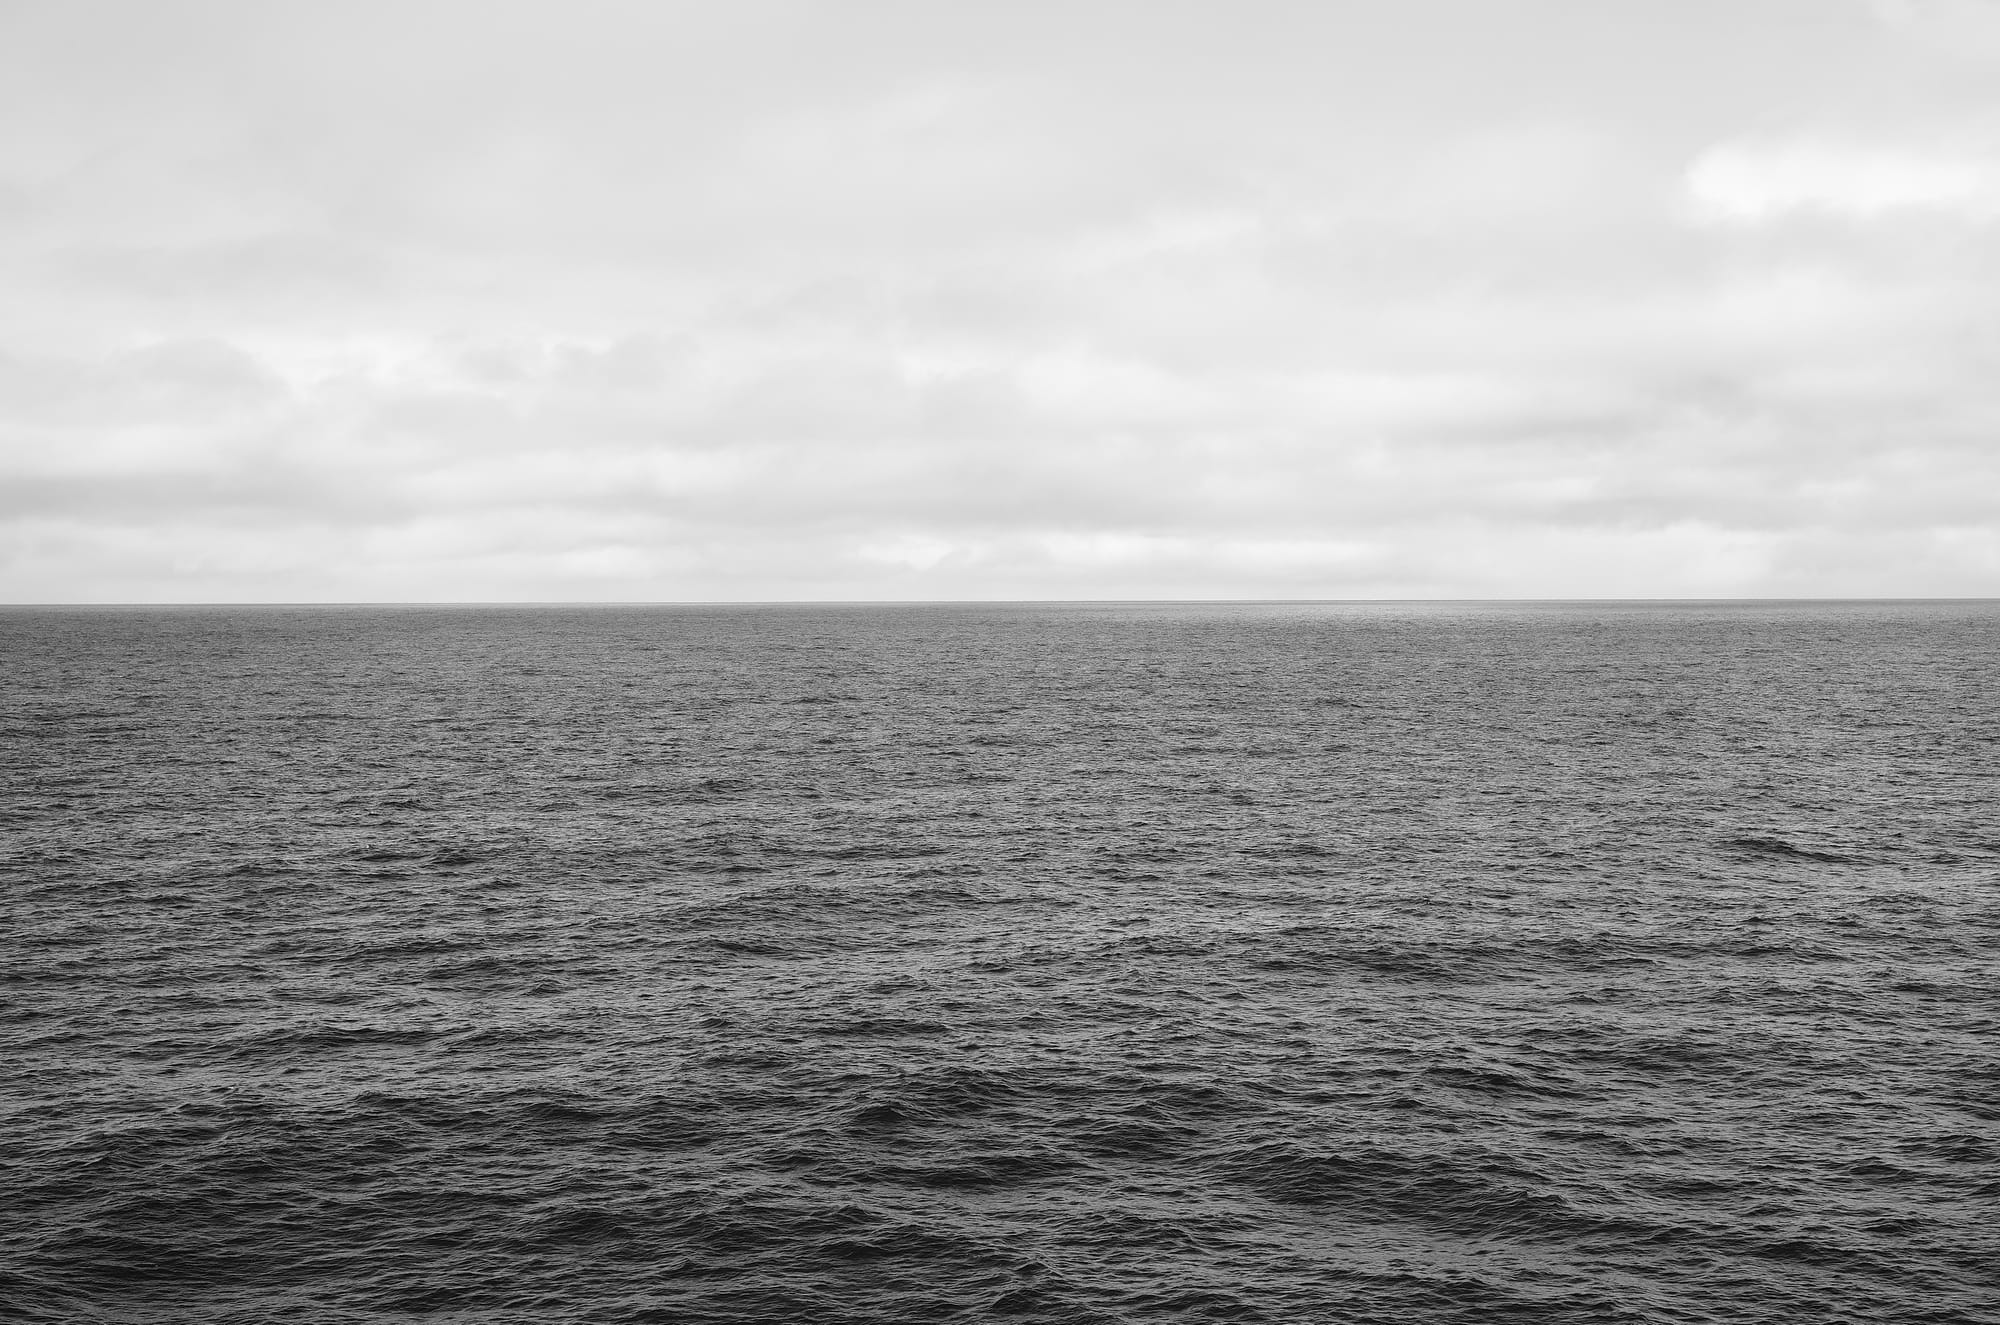
Monochrome JPEG film style (left) and Monochrome High Contrast JPEG film style (right), both with +1 sharpness.
Why is this potentially problematic?
The resulting histogram in the user defined Info Profiles as well as any histogram that shows when playing back the image, is based on the Film Styles settings. So, switching between the Monochrome and Monochrome High Contrast JPEGs and using the same exposure of the same scene will produce two different histograms!
When editing RAW files and applying contrast, the shadows are expanded deeper into the blacks and the whites are expanded deeper into the highlights. Using contrast in the JPEG can potentially lead to errors in exposure of the RAW data, believing the image light is too expansive. This can, in turn, lead to making an exposure choice to blow either the highlights or the shadows thinking it is a necessary choice.
This is why I never use the High Contrast modes or add contrast to my JPEG settings. That prevents me from making exposure mistakes when looking through the EVF.
I’ll be clear here - I do not believe this is a flaw in the EV1! I believe the histogram provides exactly what it should be - a preview of what the image will contain (or close to it). However, I also believe we need to understand how it operates to ensure we get the best RAW or DNG files that the EV1 sensor is capable of delivering!